
This article contains affiliate links. If you purchase through one of these links, AllInsides may earn a commission at no additional cost to you. As an Amazon Associate, I earn from qualifying purchases.
A small shower can become cluttered quickly. Bottles collect on the floor, soap sits in water and cleaning tools compete for the same narrow ledges.
Renters face an extra limitation: drilling into tile may be prohibited, risky or expensive to repair. Fortunately, a useful shower system does not require permanent fixtures. The key is to reduce what lives inside the wet zone, choose storage suited to the surface and make moisture control part of the routine.
This guide explains how to organize a shower without drilling, from preparing tile correctly to choosing adhesive storage and preventing the system from becoming crowded again.
Key Takeaways
- Edit first: Keep only products used regularly inside the shower.
- Check the surface: Adhesive storage performs best on smooth, clean, non-porous tile or glass.
- Respect weight limits: Product volume matters more than the number of bottles.
- Protect airflow: Open wire storage and a clear floor help water drain and surfaces dry.
- Maintain the system: A short weekly reset prevents duplicates and residue from returning.
Contents
- 1. Remove Products You Do Not Use
- 2. Check Whether Your Surface Is Suitable
- 3. Prepare Tile Before Applying Adhesive
- 4. Position Adhesive Caddies Correctly
- 5. Organize Products by Frequency
- 6. Control Water and Moisture
- 7. Keep the Shower Floor Clear
- 8. Store Refills Outside the Shower
- 9. Complete a Weekly Reset
- How to Choose No-Drill Shower Storage
- Frequently Asked Questions
1. Remove Products You Do Not Use
Take every item out and discard empty containers, products you no longer enjoy and duplicates that belong with refills. Check expiration or period-after-opening guidance for treatments and cosmetics.
Return only daily or several-times-a-week products. Occasional masks, backup bottles and specialist cleaners can live in a dry cabinet nearby.
This step matters because adhesive storage has a weight limit. Removing unnecessary bottles improves access and reduces strain on the mounting system.
2. Check Whether Your Surface Is Suitable
Most adhesive organizers are intended for smooth, clean and non-porous surfaces such as glazed tile, glass or polished stone. Textured tile, porous surfaces, uneven grout and peeling finishes may not provide reliable adhesion.
Read the manufacturer’s instructions before buying. If the surface is unsuitable, consider an over-door caddy, tension-pole system or showerhead hanger that does not depend on adhesive.
3. Prepare Tile Before Applying Adhesive
Remove soap residue and mineral deposits, rinse thoroughly and allow the surface to dry completely. Follow the organizer manufacturer’s cleaning guidance; some adhesives perform poorly when oily or residue-forming cleaners remain on the tile.
Avoid placing a mounting strip across grout lines. Apply it to one continuous tile wherever possible, press for the specified time and respect the full curing period before adding the shelf or products.
4. Position Adhesive Caddies Correctly
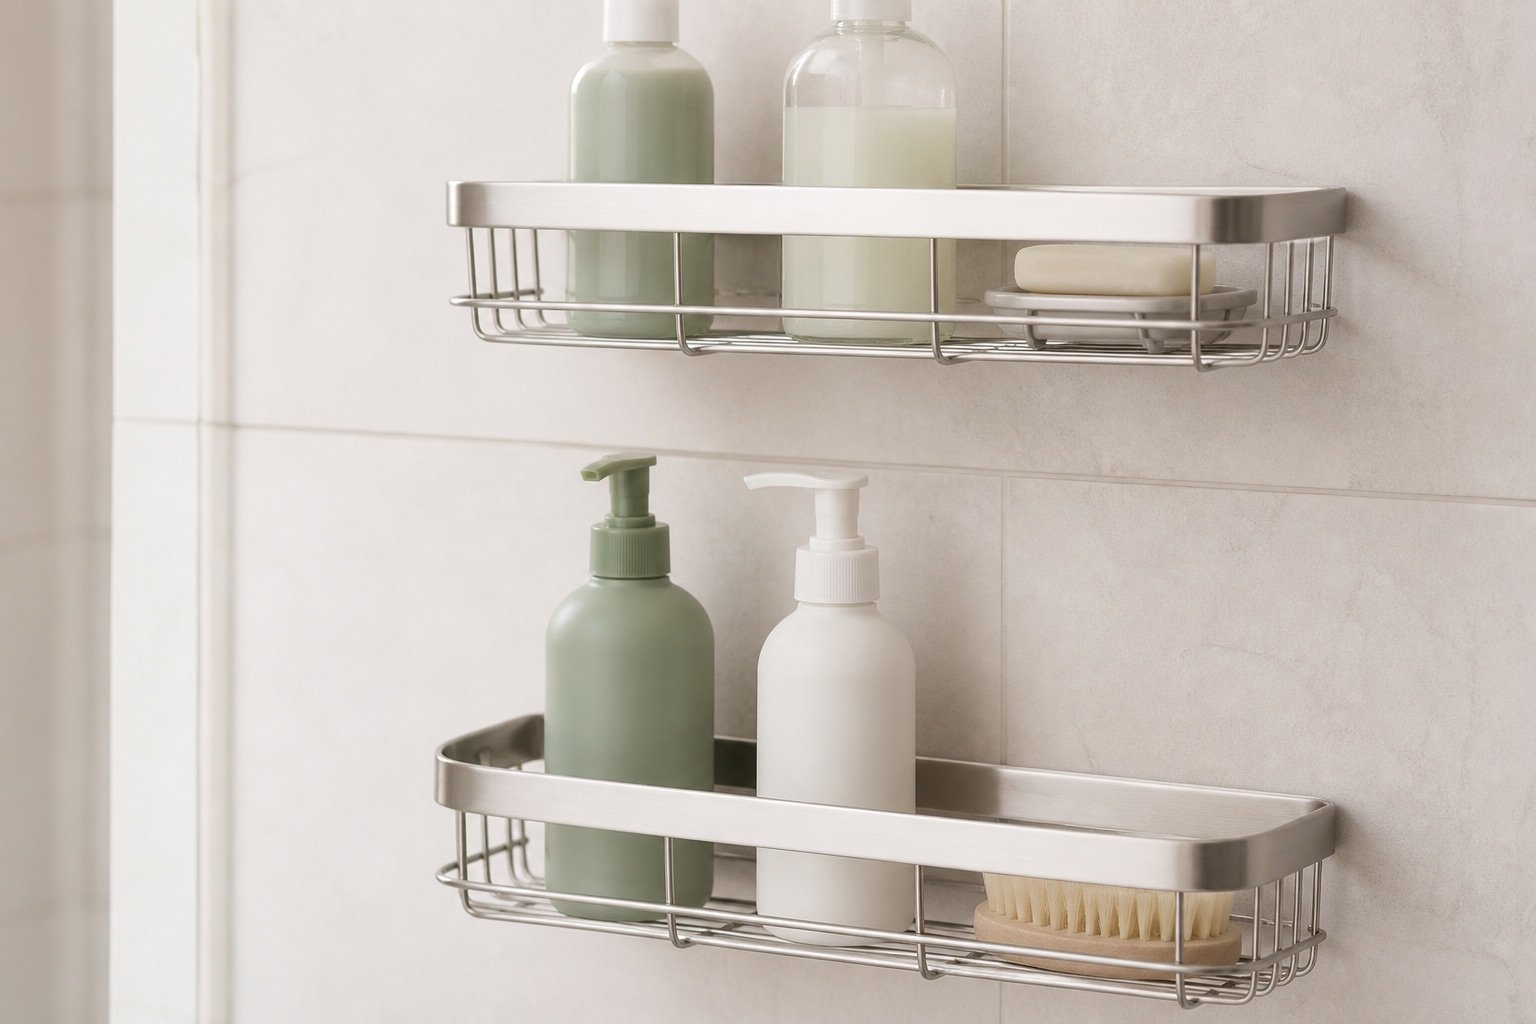
Place frequently used products between shoulder and waist height, away from the strongest stream of water. Confirm that doors, elbows and shower controls can move freely.
The EUDELE five-piece adhesive shower caddy set offers several storage pieces that can be distributed according to the available wall space.
Best for: Smooth suitable tile where multiple household members need separate product zones.
Skip it if: Your surface is textured, porous or specifically excluded by the manufacturer.
Do not assume the advertised total capacity should be used. Leave room around bottles so they are easy to lift and the caddy can drain.
5. Organize Products by Frequency
Place shampoo, conditioner, cleanser and soap in the easiest position. Put less frequent treatments on a higher or secondary shelf. Group products by person or task—whichever makes the shower easier to use.
Avoid decanting products purely for appearance unless the new bottles are clearly identifiable and safe for wet conditions. Confusing similar-looking products is not worth a perfectly matched shelf.
6. Control Water and Moisture
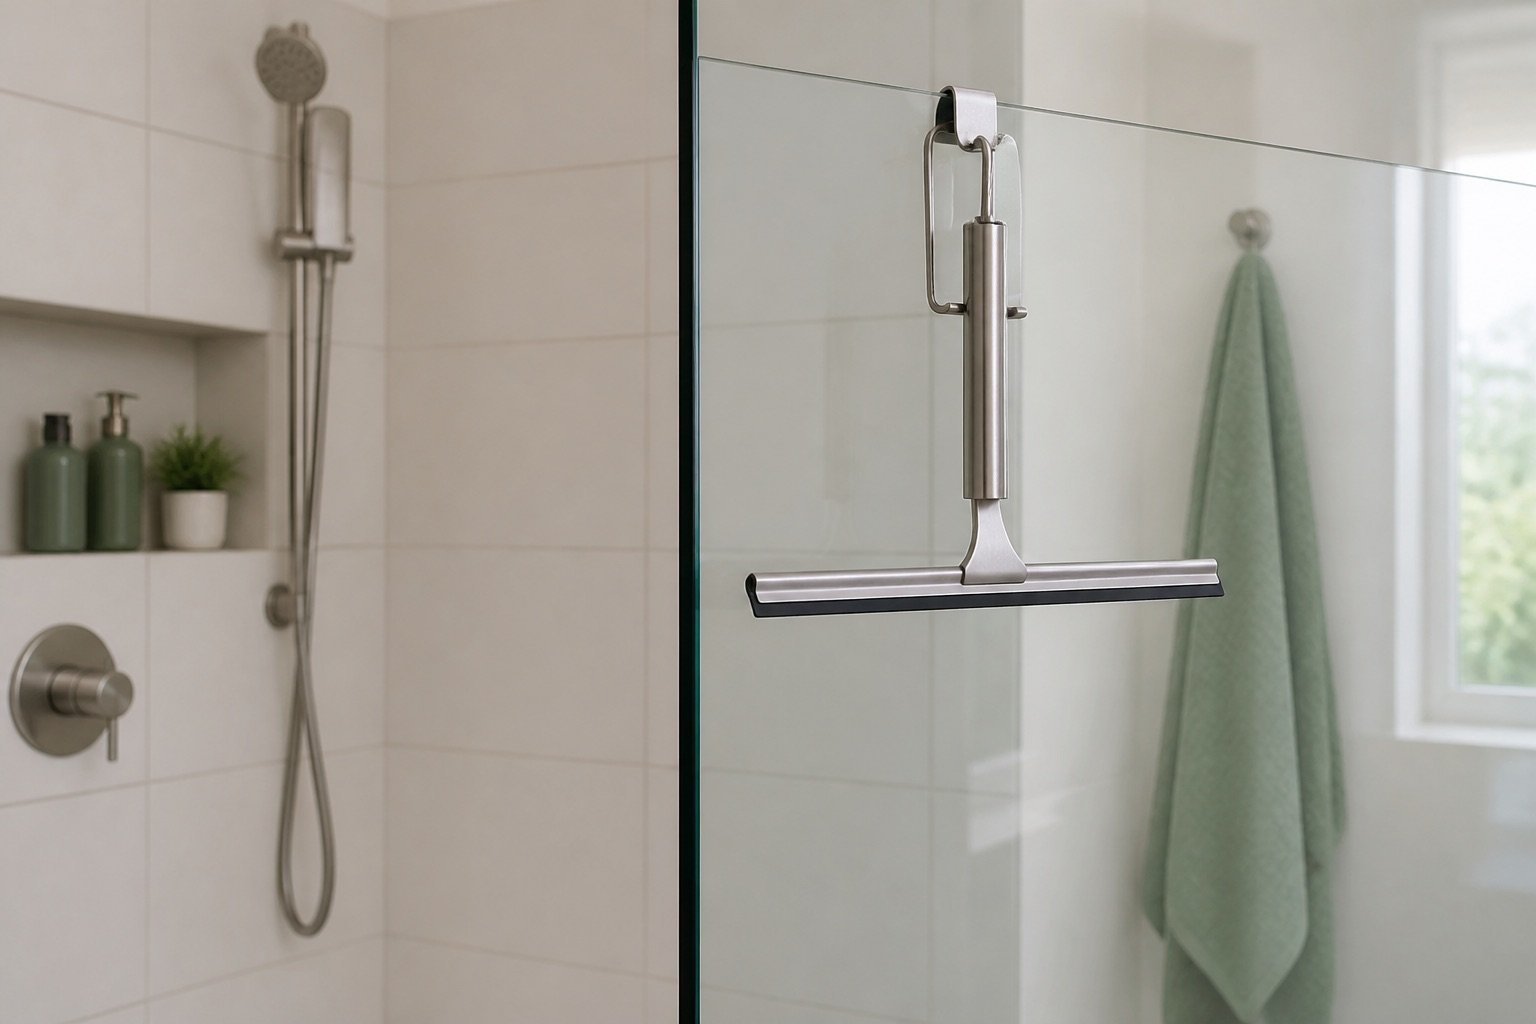
Ventilate the bathroom after showering and remove standing water from glass and large tile areas when practical. A squeegee should hang within reach but outside the main spray so it can dry.
The JustHang shower squeegee is one compact maintenance option.
Best for: Glass screens and smooth tile where water spots and lingering moisture are recurring problems.
Skip it if: Your enclosure material requires different care or the hanging method would interfere with the door.
A squeegee supports regular cleaning; it does not replace it. Wash caddies and inspect mounting strips according to their care instructions.
7. Keep the Shower Floor Clear
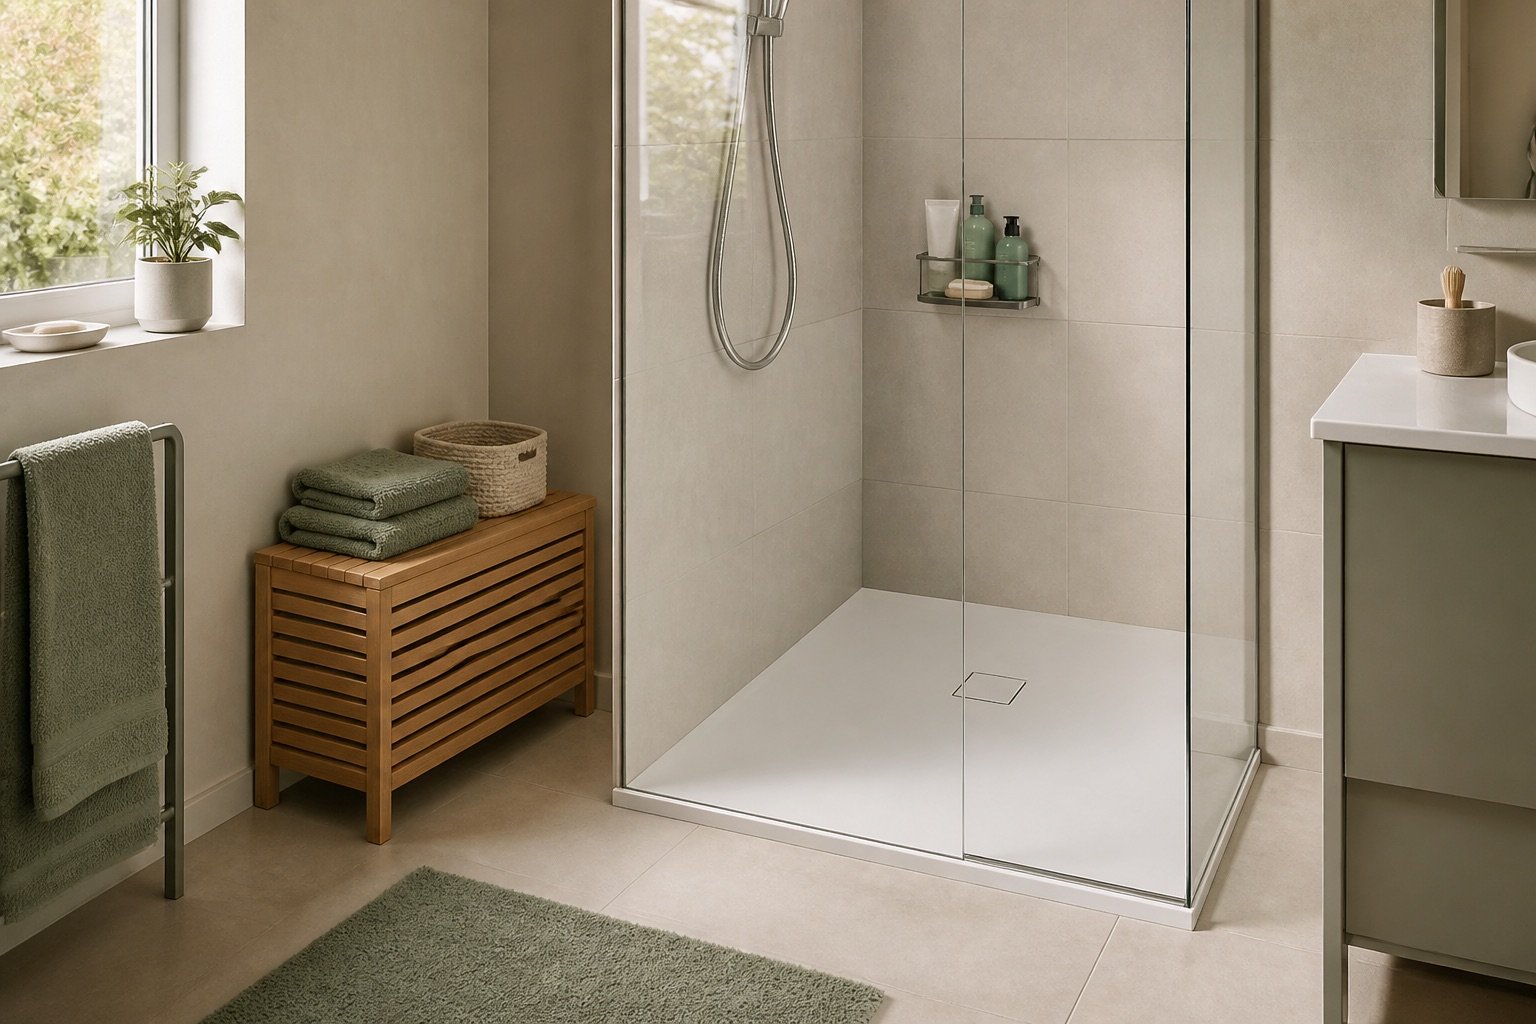
Do not leave bottles, razors or soap dishes on the shower tray. Items on the floor collect residue, restrict cleaning and can become trip hazards.
If an item cannot fit safely on the wall storage, decide whether it belongs inside the shower at all. Keep bath mats outside the wet zone and allow them to dry fully between uses.
8. Store Refills Outside the Shower
Create one small backup area in a bathroom cabinet or linen cupboard. Keep one replacement per everyday product rather than several partially used containers.
When a shower bottle is empty, replace it from the backup zone and add the item to your shopping list. This simple rotation keeps the shower visually calm and makes stock easier to track.
9. Complete a Weekly Reset
Once a week, remove empty bottles, wipe shelves, rinse soap dishes and check that every mounting point remains secure. Return products to their zones and move occasional items back to dry storage.
If the caddy begins to lean, loosen or corrode, unload it immediately and follow the manufacturer’s replacement guidance. Never ignore a failing mount above a shower floor.
How to Choose No-Drill Shower Storage
Match the storage method to the surface, household and enclosure rather than choosing by capacity alone.
| Situation | Useful option | Check first |
|---|---|---|
| Smooth glazed tile | Adhesive caddy | Surface exclusions and curing time |
| Textured or porous tile | Over-door or tension storage | Door clearance and ceiling stability |
| Glass enclosure | Over-glass caddy or approved adhesive | Glass thickness and door movement |
| Several users | Separate small zones | Total loaded weight |
| Frequent water spots | Reachable squeegee | Surface-care instructions |
Common Mistakes to Avoid
- Installing adhesive over residue or grout lines.
- Loading the organizer before the adhesive has cured.
- Exceeding the weight limit with large full bottles.
- Placing shelves where they obstruct doors or controls.
- Keeping backups and rarely used products in the wet zone.
Frequently Asked Questions
Do adhesive shower caddies damage tile?
Results depend on the surface, adhesive and removal method. Follow the manufacturer’s suitability and removal instructions, and obtain permission when required by a rental agreement.
How long should adhesive cure before loading?
Use the exact period stated by the manufacturer. Do not shorten it simply because the strip feels secure.
Can adhesive caddies go over grout?
A continuous smooth surface is generally more reliable. Avoid bridging grout unless the product instructions explicitly allow it.
What belongs inside a shower?
Keep only products used regularly, plus a safely stored cleaning tool if helpful. Refills and occasional treatments should remain in dry storage.
How often should shower organizers be cleaned?
Wipe or rinse them weekly and give them a fuller clean whenever residue develops. Inspect the mounts at the same time.
Conclusion
A renter-friendly shower can remain organized without permanent fixtures. Edit the products first, confirm the surface is suitable and install no-drill storage exactly as directed.
Keep everyday items visible, protect airflow and make a quick moisture-control routine part of every shower. The result is easier to clean and simpler to maintain.
Explore more selected bathroom products on the AllInsides Amazon storefront.